Rocking Cradle for 12-inch doll
It all started innocently enough when I received this magazine:
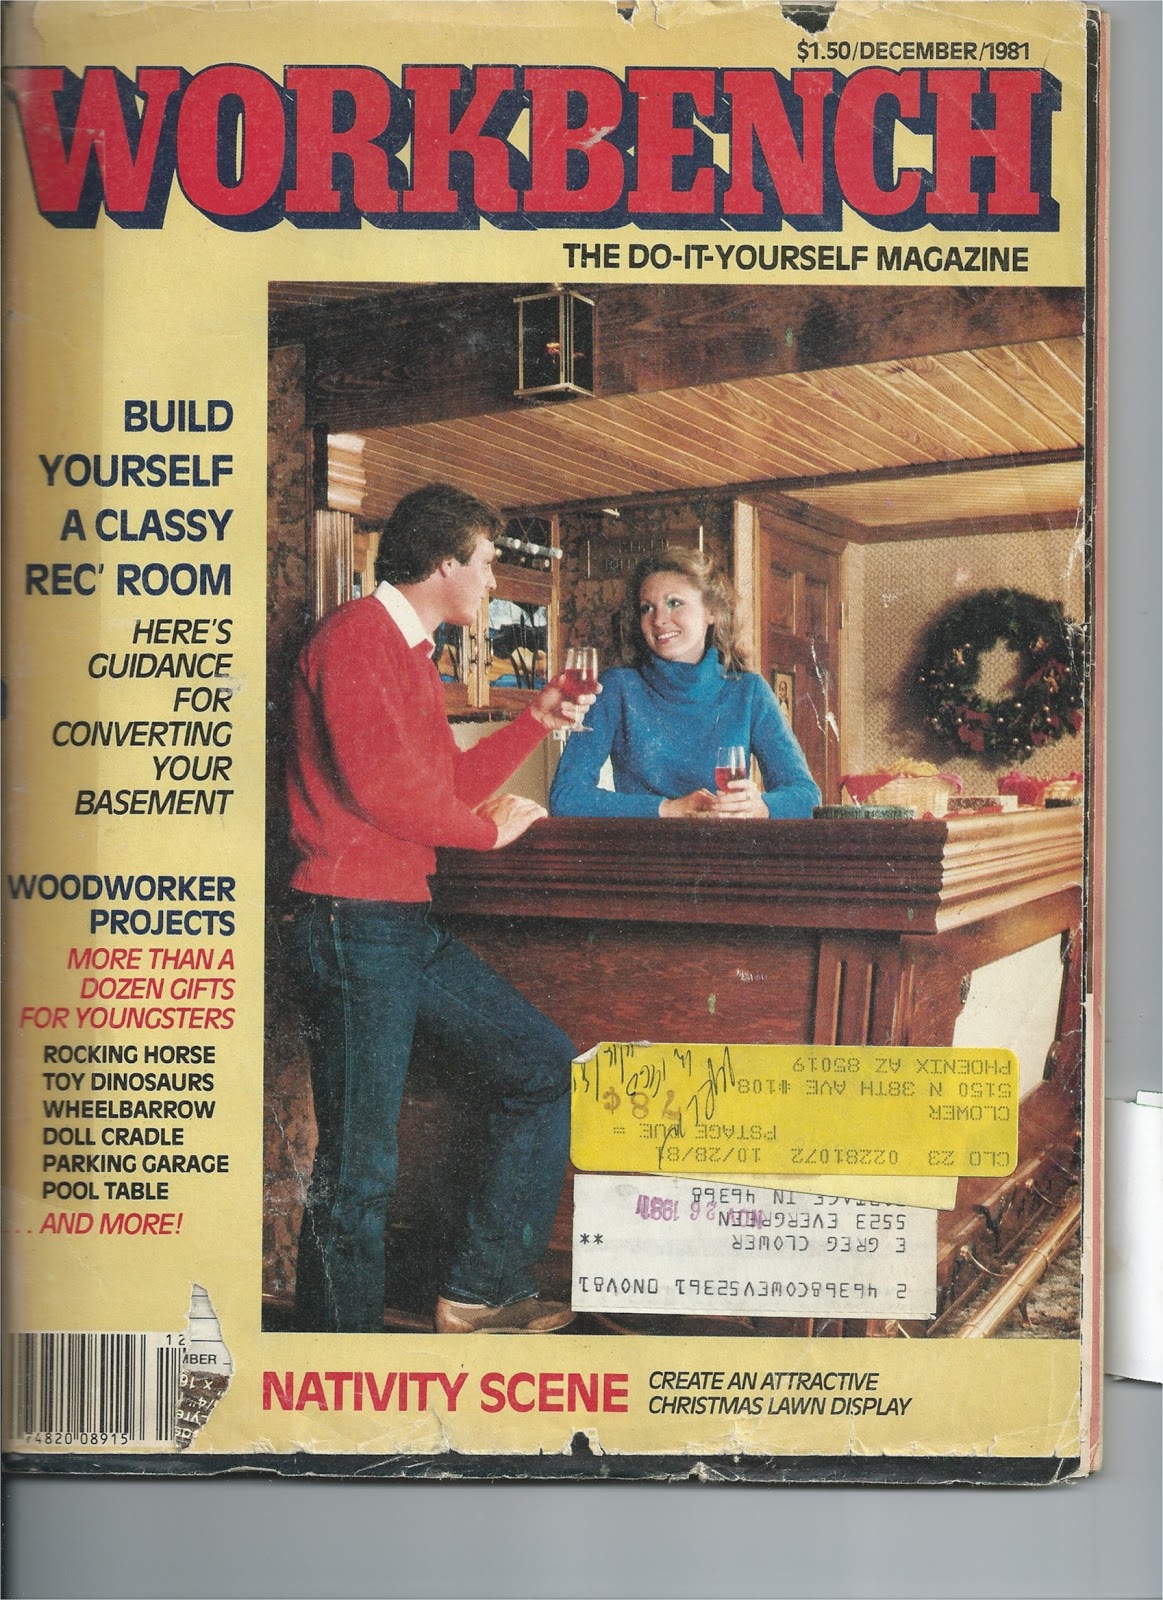
If you look at the date on the magazine you will see it was
printed in December of 1981. Not
only that the yellow address label indicates the magazine was forwarded from
Portage, IN to Phoenix, AZ. So
this magazine has been bouncing around in one garage or another for some
time. What can you buy for $1.50
any more?
The article that caught my eye:
The article that caught my eye:


And so the adventure begins:
I tried to build a cradle out of plywood to not waste any
expensive wood and just to see if I could do it.
I used ¾ inch plywood even though the plans call for ½ inch
plywood. I did this because I
wanted the cradle to be able to withstand some years of abuse and still be
together. This decision would have
consequences later on.
I was able to build the plywood cradle:
First in the shop:

Then in the family room:

And from above:

Then we had to see if it would hold a doll:

With a “matress” :

So now I think I know I can build a cradle. This was assembled with screws.
I decided to make 3 cradles for Christmas for my three grand daughters of doll playing age. I decided to make them from red oak and to not use the screws but to dowel it together. Boy, would this have consequences.
So I went out and bought some red oak:

The plank has a ¾ inch straight piece on it that was ripped from another plank.
Closer up to better see the wood:

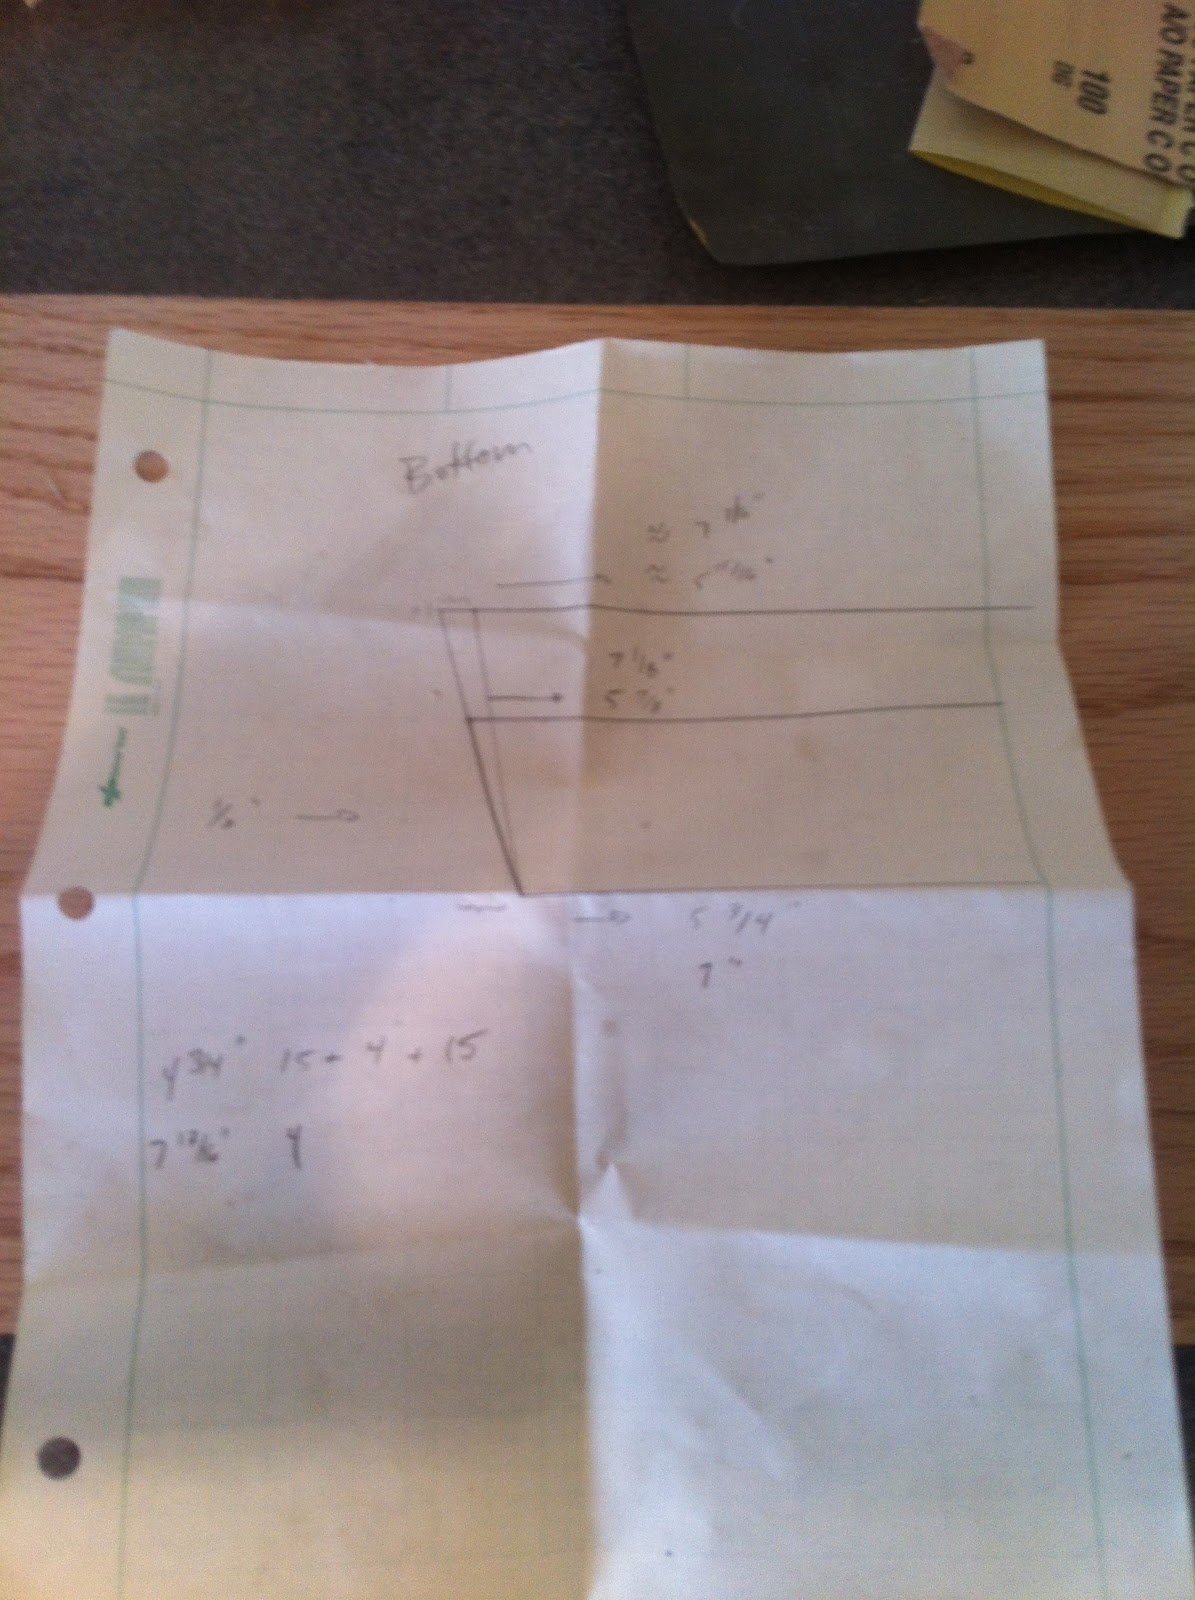
I need templates for the parts. Template are drawn according to the published plans:

The corner brace shows a 90 degree angle. But that is not how it fits into the cradle. The side-piece is attached at an angle. What to do with the corner braces is not documented.
Now I have to cut the pieces from the red oak. I cut enough parts to make three cradles.
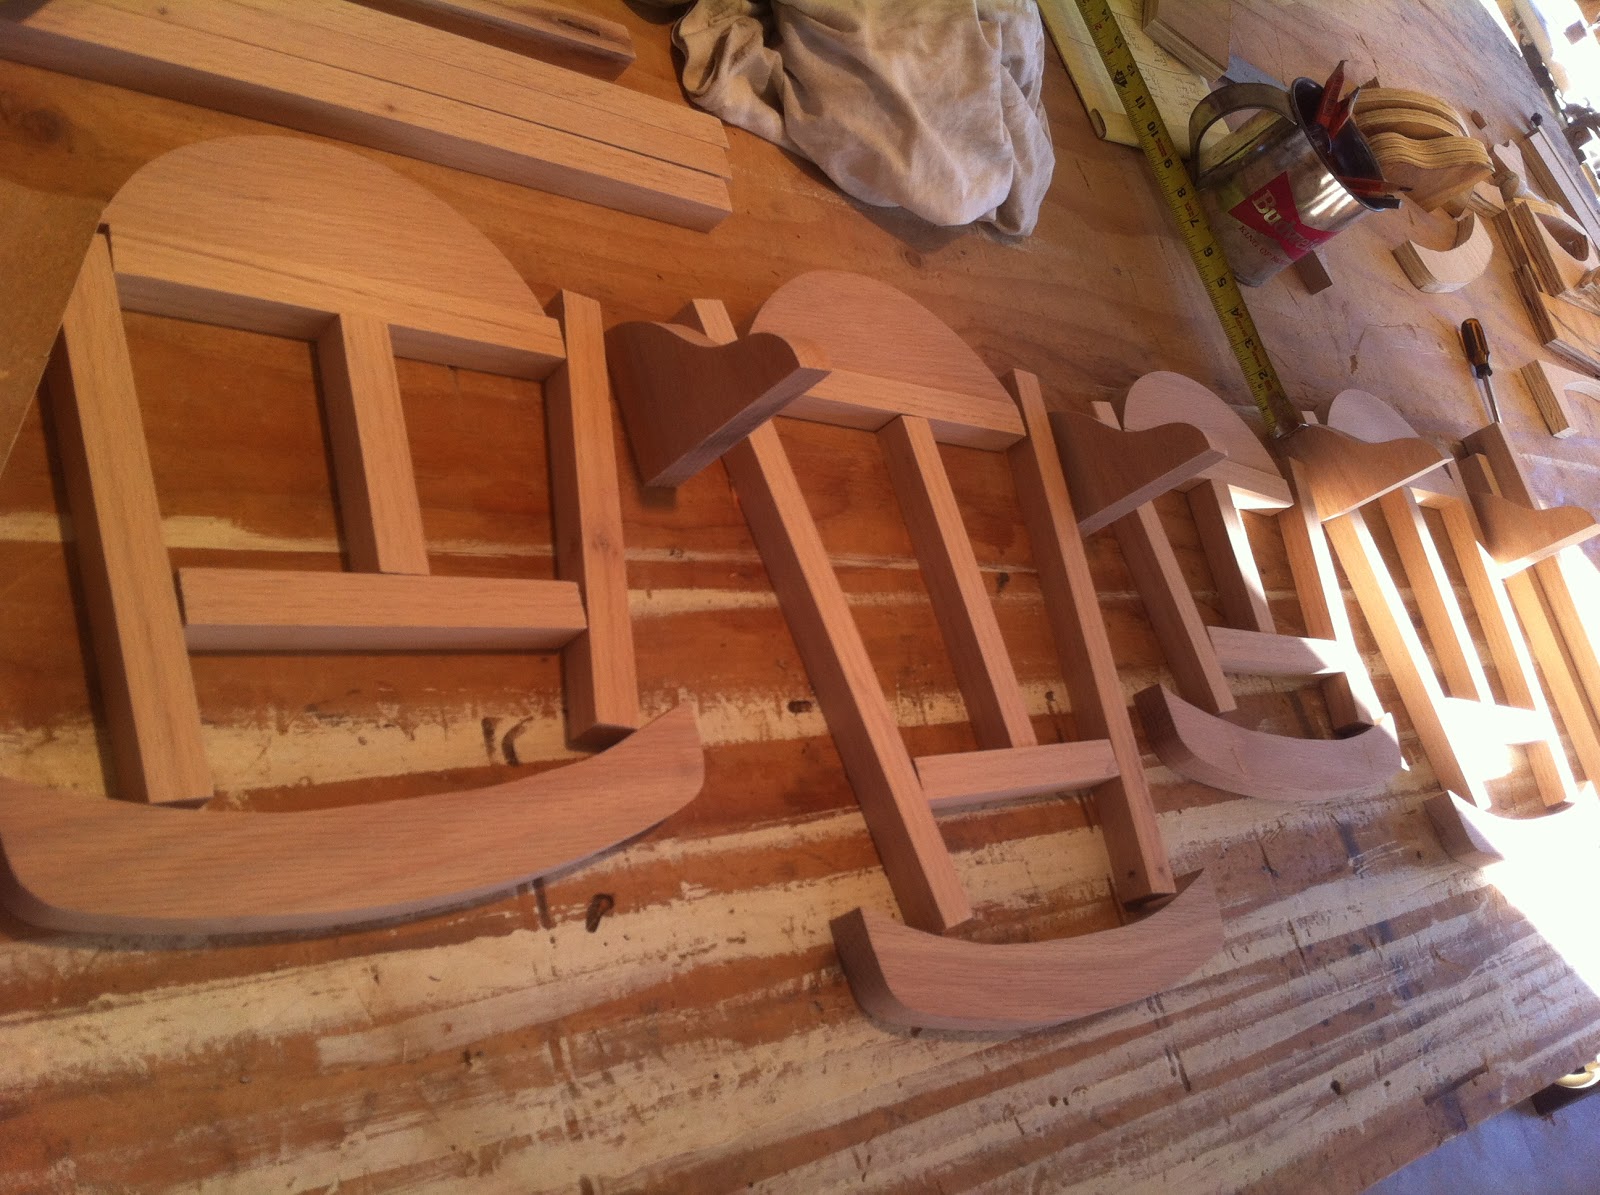
I mark the location of the
dowels in the Side Panels and in the Header and Footer pieces. Here are the
frames for the Side Panels:

Count the marks. There are 15 dowels in a Side Panel. That’s 30 holes per Side panel. So I need to drill 60 holes to build two Side Panels and then another four holes in each of the Header and Footer pieces. That’s 76 dowel holes for one cradle not including the holes for the dowels that will hold the Cradle together. That’s about 228 holes to drill – but who’s counting.
Here
are the cross bars for a Header or Footer:

I cut the 5/16 inch dowels and drill the holes for them. I drilled all the holes using the Shop Smith as a drill press. There were some issues with being to drill the hole without the piece of wood moving a little. I assemble the Side Panels and gather the pieces to build a cradle.

Most of the cross rails and center posts have at least one hole drilled in the end of the piece. First you have to find the center of the piece:

Then you have to drill it out:

The
drill will “walk” around before it drills the hole. You want to punch a pilot
hole the hold the drill bit in place. You also want the Shop Smith used as a
horizontal boring (yawn) machine.
I sanded the parts starting
with the Side Panel brace:

I
used the Shop Smith as a drill press and put a drum sander attachment on
it. That worked but didn’t make
the two braces uniform so I made a jig so I could sand them both together.

Then
I sanded the straight pieces.

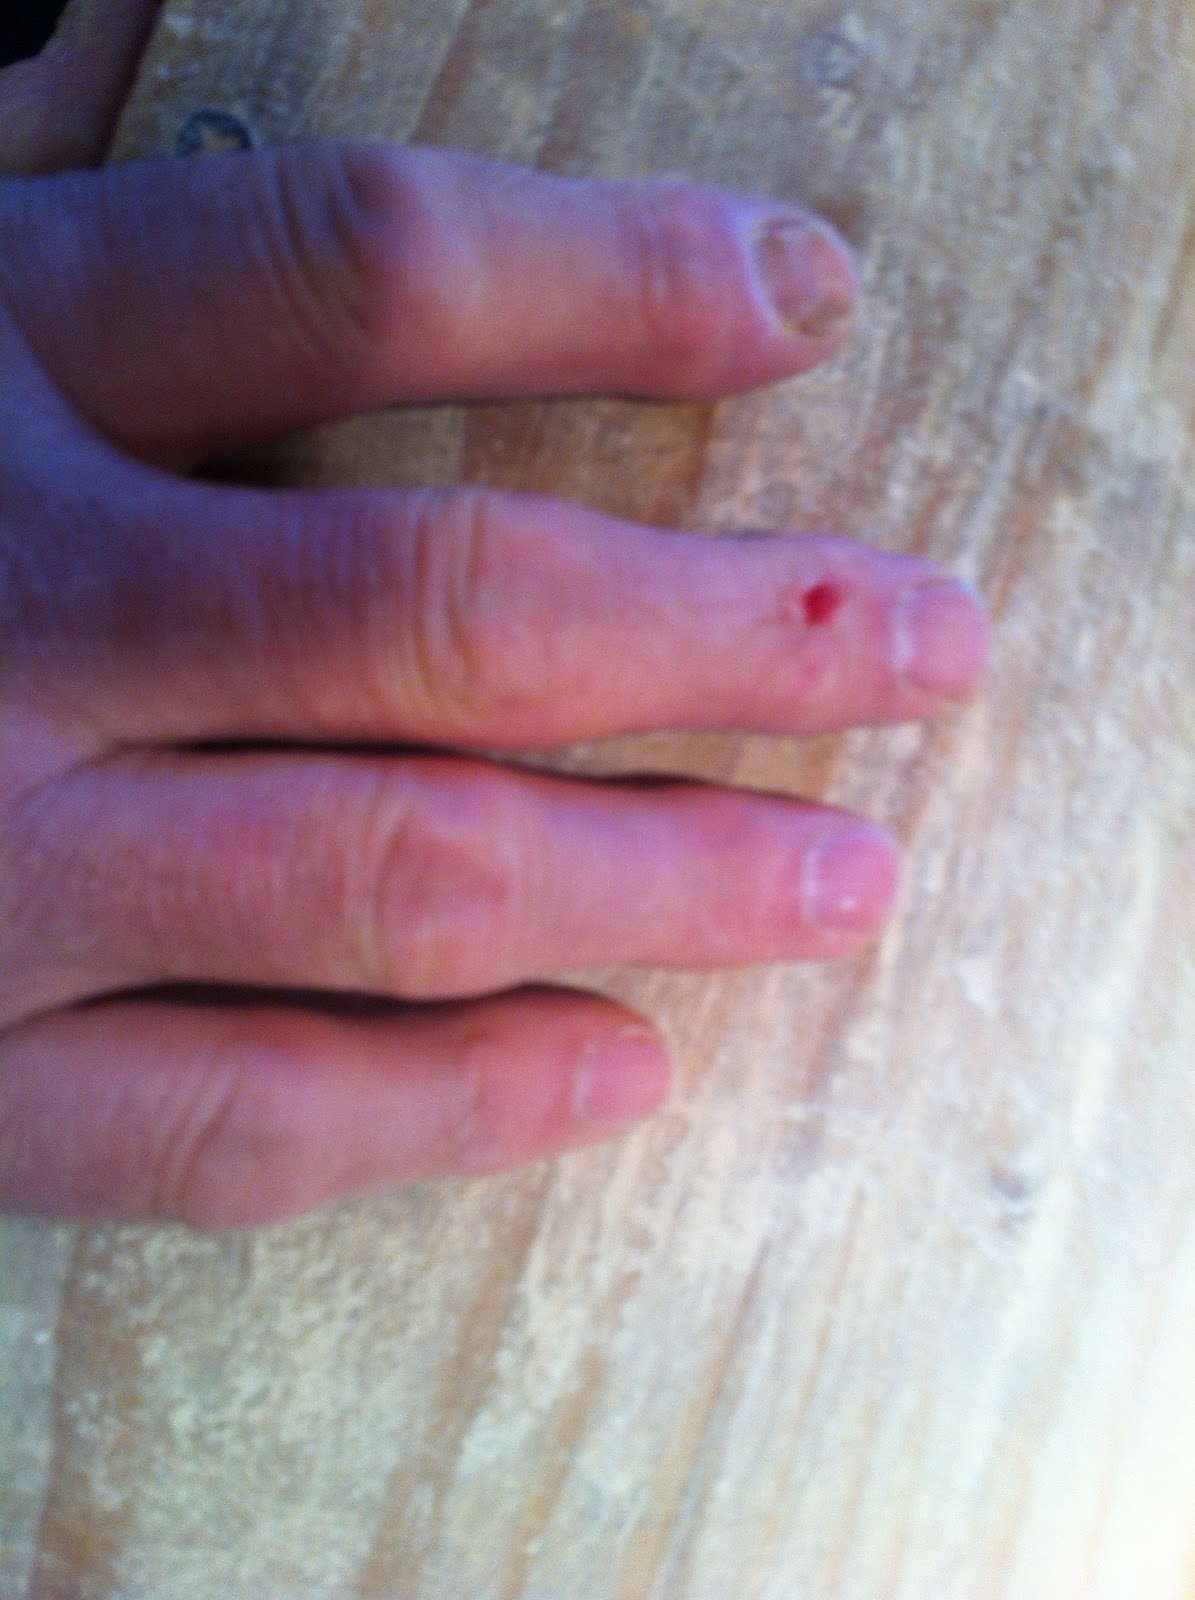
Ah…you have to be careful
not to sand too close to the sand paper or you may lose some of the skin from
your fingers
This makes a lot of sawdust

I put the sawdust in a bag
so I could later mix it with glue and make some red oak colored wood filler.
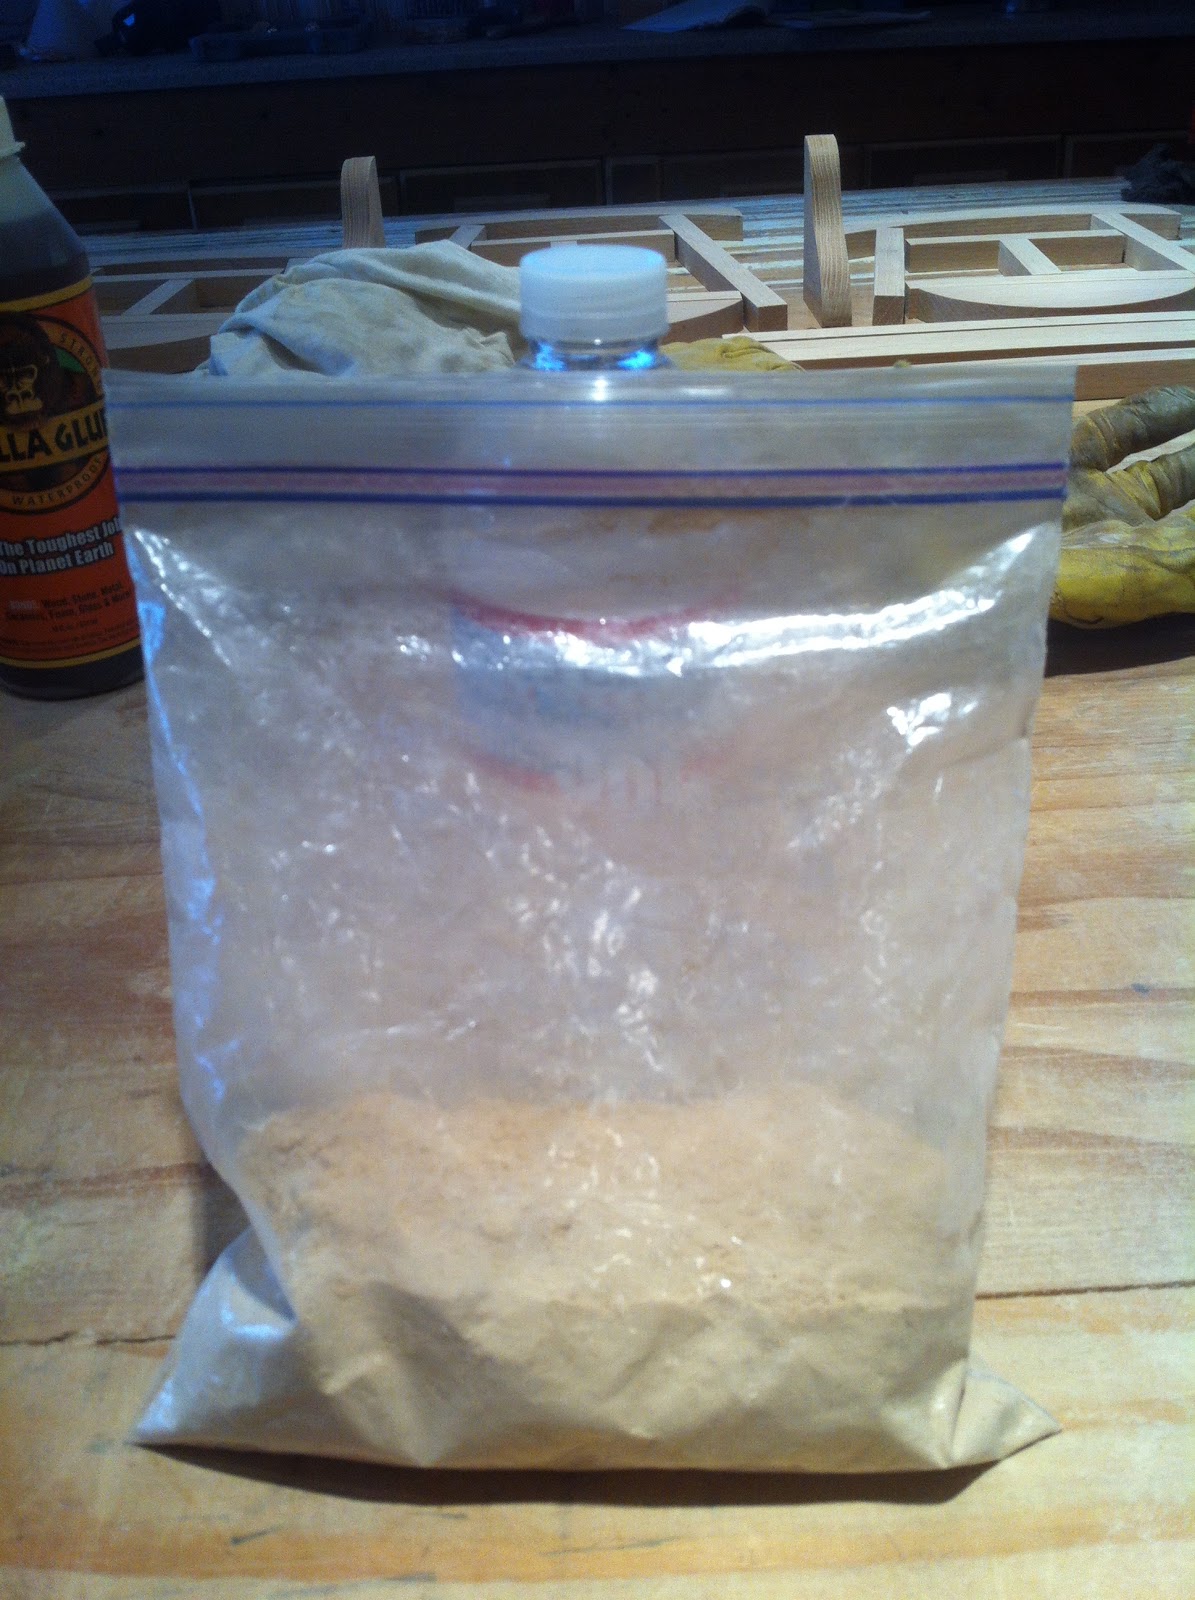
This caused me to wonder
how much trouble I could get into if I had this bag in the car and got stopped
for a traffic violation. Would they think this was some kind of drug?

I
don’t know how many lines of sawdust I could do.
There were also issues with
the holes drilled for the dowels used to hold the Cradle together. Since the
Cradle posts are assembled at an angle the dowel holes need to be drilled at an
angle. I had to build two jigs for
this. One for the side posts to attach the cross members and one for the side
posts to attach the Side Panels.
The angles are slightly different.

I
also learned there is a definite order to how the pieces need to be assembled:
1. Assemble the center portion
of the end pieces
2. Fit the corner posts to the
end panels
3. Assemble the Side Panel
4. Attach the brace to the Side
Panel
5. Establish the angle of
attachment for the Side Panel
6. Attach the corner posts to
the Side Panel
7. Attach the larger Side Panel
to the center portion of the end pieces.
8. Dry fit the entire cradle
together.
9. Sand the pieces. Then glue it all together.

Now
sand everything down
Glue everything together and attach the rockers:
Attach the glue blocks:

I
won’t use glue blocks in the future.
I will route a groove in the bottom portion of the Side Panel to slide
the bottom into.
 |
| This one shows some of the glue blocks |
 |
| This one shows the Header Piece |
 |
| This one shows the Side Panel Brace detail |
 |
| This one shows the Footer End Piece |
Now cut
the bottom and glue it to the glue blocks.
So
here you the completed Cradle.

So
what am I going to do with these three Cradles? They will go to my grand daughters of currently doll playing
age:
- Mina
- Gabriela
- Caetlin
Each
Cradle has defects. Defects were
corrected as I went from one Cradle to the next.
Next
steps:
The
Cradles have to be finished with something like Verathane.
But
I am not done. I have the wood to
build 5 more Cradles.
They
will go to:
- Cynthia
- Theresa
- Isabela
- Banu
- Maria
I don’t know what I will do with the plywood prototype. I know I will paint it white.
I
applied three coats of something called Polyacrylic. I sprayed it on and sanded it down between each coat. The cradles are smooth to the touch. Here
are the finished cradles:

Here
are the Cradle bottoms – Mina’s first:

Now Caetlin’s:

And finally Gabriela’s:

I have declared the granddaughter cradle project over –
partially from exhaustion. But it
begins anew. I have 5 more to
build. This time the order of
operations will be different still from what I said before. I am trying to get build time down so I
could make some of these for a Christmas fair where they could be sold. I don’t
if that makes sense. It takes time
to build these things.